Grok Imagine by SpaceXSI: Turn a Strong Image into Video
Prepare a still image for Grok Imagine image-to-video. Learn practical framing, motion prompts and review steps, with a clear first-frame checklist.
Grok Imagine by SpaceXSI can turn a still image into video, but the starting image deserves as much attention as the motion prompt. A crowded composition, an awkward crop or an unclear subject gives you more problems to solve after generation. A strong first frame gives the movement somewhere useful to begin.
This guide focuses on preparing that frame and writing a small, inspectable motion brief. The examples are original creative exercises, not tested output samples or claims that a model will preserve every detail.
What's new on this page
- October 27, 2026: Added a first-frame preparation checklist, three motion briefs and a review method that separates source-image defects from animation defects.
Understand which Grok workflow you are using
The official SpaceXSI image-to-video documentation describes generating video from an image and a text instruction. Provider documentation describes the underlying capability; a third-party website may expose a different selection of controls, models and billing rules.
At publication, flux3-image.com's video catalog included Grok Imagine 1.5 and marked it as requiring payment eligibility. That does not mean every feature in the provider's API documentation is available in this interface. Check the video workspace for the actual options and quotation before generating.
If you need to create a source picture first, use the separate Grok image page. An image generator prepares the still; it is not the same operation as animating that still.
Give the viewer one clear subject
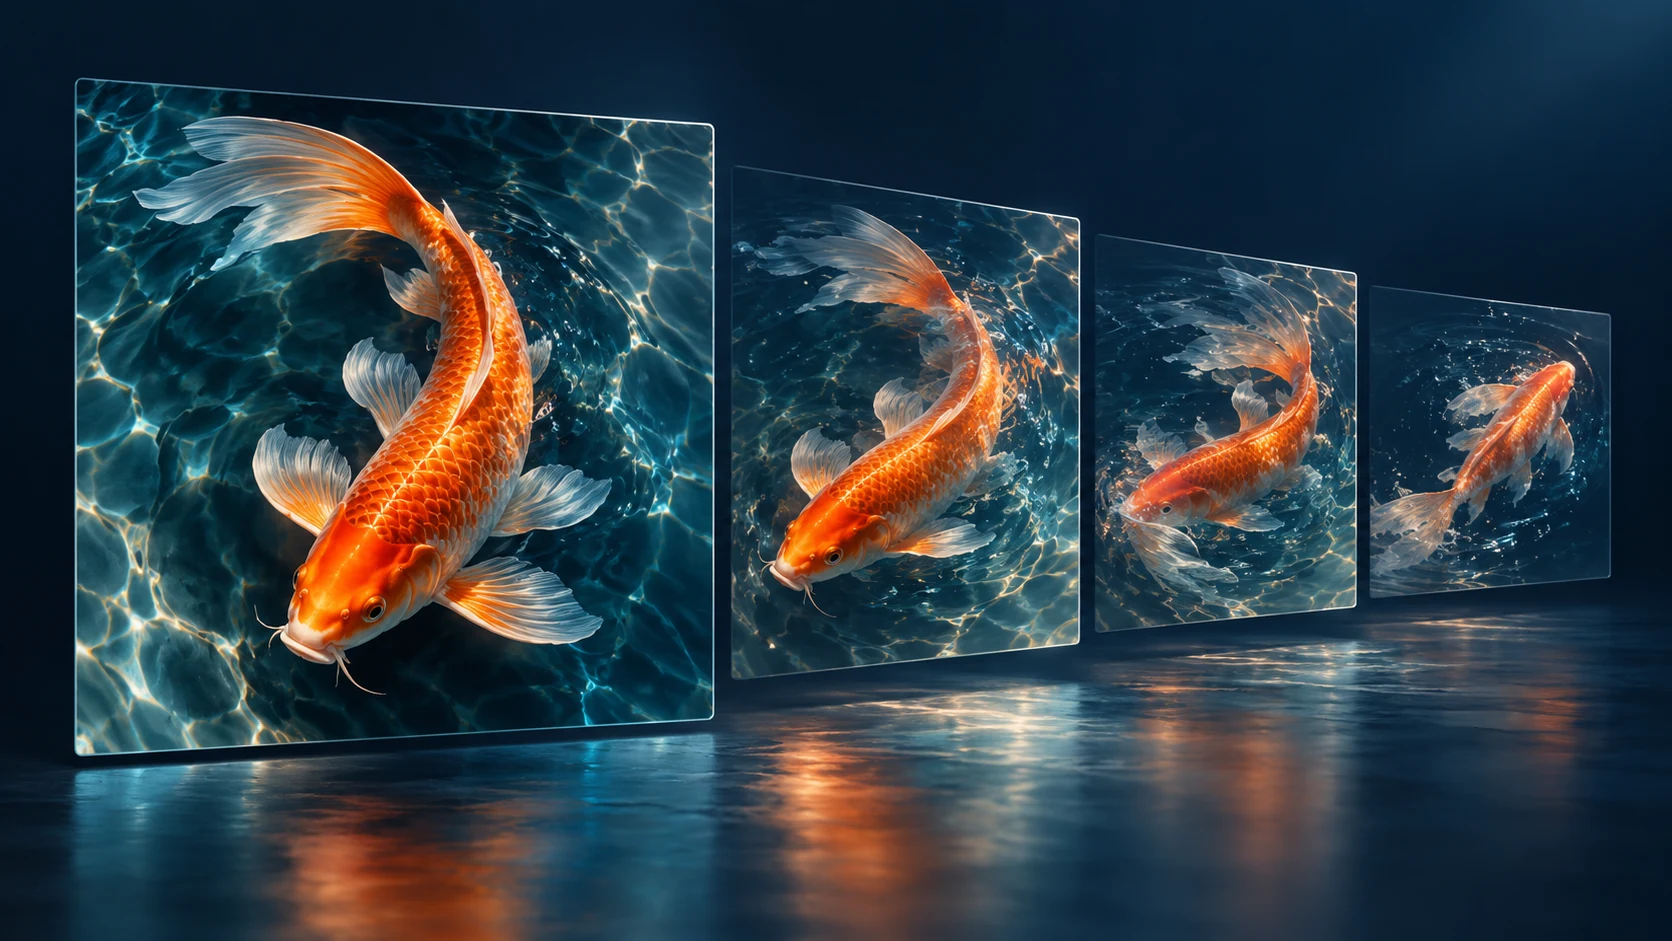
Consider an original image of an orange koi in a calm pond. The fish is the subject, the water is the environment and the ripples are a supporting detail. If the frame also contains several fish, floating toys and a hand feeding them, the intended focus becomes less clear.
Choose the version in which the subject's outline is readable. Leave room in the direction it might move. A fish already touching the edge has little visible space for a gentle turn, while a tightly cropped portrait may leave no room for a requested head movement.
You are not trying to remove every interesting detail. You are deciding which detail carries the scene and which details can remain quiet.
Inspect the image before uploading it
Use this checklist on the actual file, not just a thumbnail in a gallery. A defect that is small on your screen may become more noticeable when it moves.
| Check | Practical question |
|---|---|
| Subject boundary | Can you see where the main object ends? |
| Frame margin | Is there space for the planned movement? |
| Fine detail | Are hands, lettering or repeated patterns already distorted? |
| Background | Does it support the subject without confusing overlaps? |
| Destination crop | Will the important parts remain inside the final frame? |
Keep the original file and save a separate working crop. If you later discover that a fin, hand or product corner is missing, you can trace whether it was cropped out before generation.
Write movement rather than rewriting the picture
The still already communicates appearance. Use the prompt primarily to explain what changes. For the koi example: “The koi turns gently through the water. Small ripples spread behind it. Keep the camera steady and preserve the calm lighting.”
For a different image of a desk plant: “The leaves move slightly in a light breeze. The pot stays fixed on the desk. No camera movement.” For a landscape: “Clouds drift slowly above the hills. Preserve the horizon and keep the camera position stable.”
These are illustrative briefs. They are not verified recipes and should be adjusted to match your actual image. Do not ask for leaves to move if the submitted picture contains only a bare branch, or for a visible turn that would reveal parts of an object the image does not show.
Limit the first attempt to one motion problem
A subject can move, the camera can move and the environment can change. Combining all three immediately makes diagnosis harder. If the result looks wrong, you may not know whether the issue came from the camera request, subject action or source composition.
Start with one primary movement. If it works well enough for your purpose, you can consider a second idea in another attempt. A restrained shot is especially useful when continuity matters more than spectacle.
Before submitting, read the model selection, duration, aspect ratio, resolution and credit quote together. A change in one setting may change the available options or cost. Consult current pricing if you need to understand account access; do not treat a provider's API price as this site's retail quotation.
Review time, not just a beautiful frame
Watch the whole clip at normal speed first. Then inspect the beginning, middle and ending. For the koi, check whether the body remains coherent and whether its movement fits the visible space. For the plant, check the pot as well as the leaves. A convincing leaf movement does not excuse a pot that changes shape.
Use three notes: what stayed stable, what changed as intended and what changed unexpectedly. That short record is more useful for the next attempt than a vague verdict such as “not cinematic enough.”
If a problem exists in the first frame, return to the source image. If it appears only during movement, revise the motion brief or simplify the requested action. Changing both at once makes the cause harder to identify.
Finish for the actual destination
Check the downloaded file in the crop where it will be used. Add exact titles and captions in an editing workflow when accuracy matters. If sound is generated, review it separately rather than assuming the visual success means the audio is suitable.
Use images you are entitled to animate, and label illustrative material honestly when it could be mistaken for a real event or product demonstration. The cover for this guide is a conceptual illustration, not proof of Grok output quality.
A good image-to-video workflow begins with an image you can explain and ends with a clip you have inspected. Choose one clear subject, give it one purposeful movement and let the actual result determine your next step.